Templates
Templates are report models with a structure and parameters predefined by the user, depending on the type of report to be generated. Their purpose is to streamline and simplify recurring report creation, optimizing time and effort.
Configuration and creation of Templates
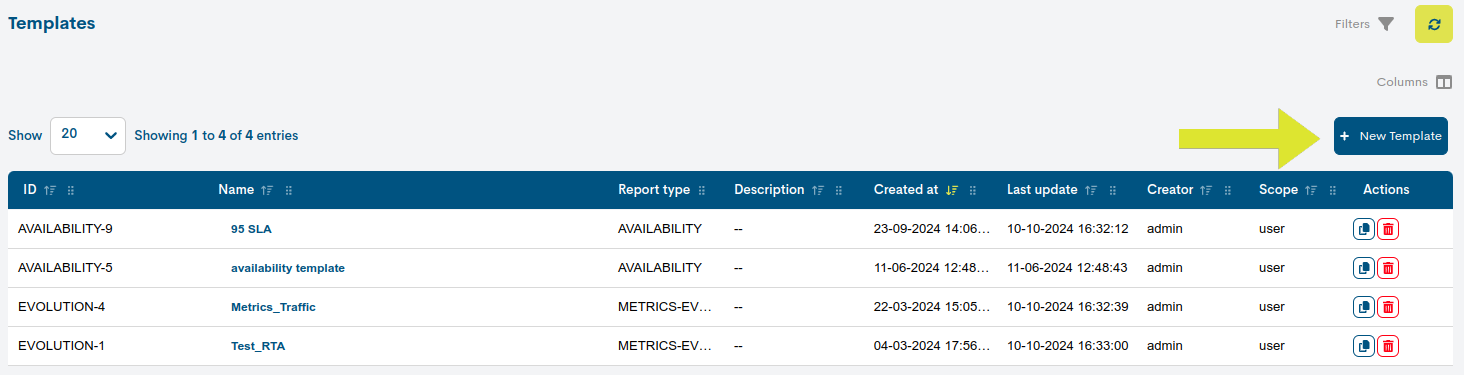
To create a template, the user must click on the blue button + Add.
Once the Add Report Template form has been displayed, to configure the template, you must complete a series of fields described below:
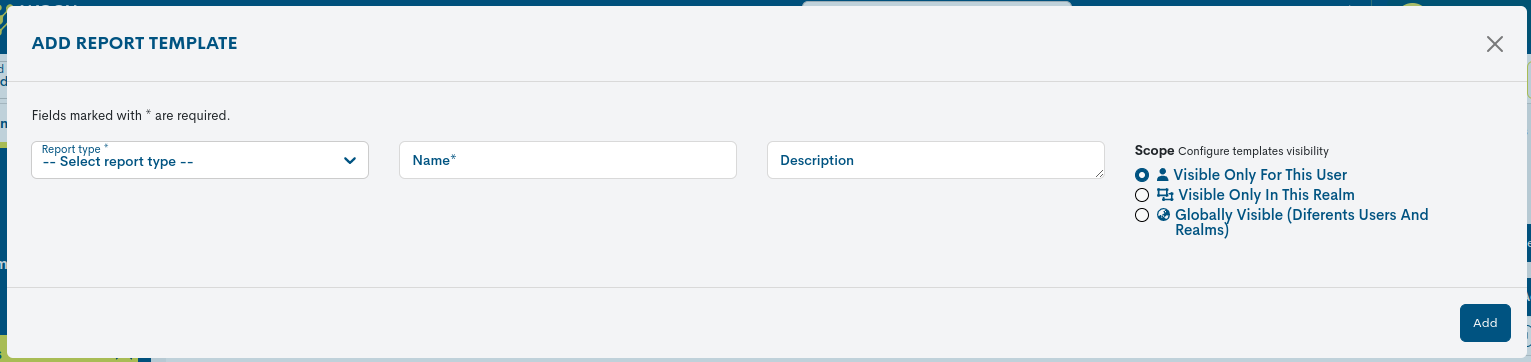
Name
Mandatory field in which the user must assign a template identification term.
Reports covers
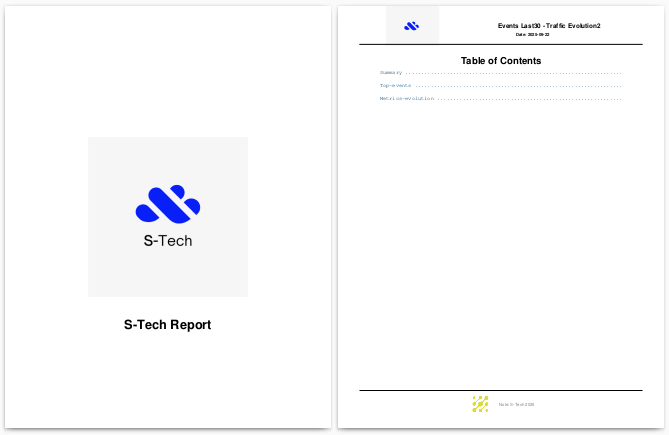
In this optional field, the user can choose a predefined cover for the report. This includes a cover image, a header on the pages, a main title, and a footnote. This gives documents a corporate and professional appearance, tailored to the organization’s visual identity. More information can be found at: Covers.
Description
Optional field where descriptive text related to the template can be included.
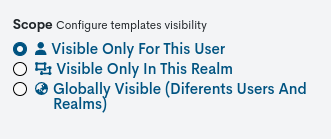
Scope
In this field the user shall choose the context in which a template is to be visible. The available options are:
Visible only for this user: The template will be visible only to the creator user.
Visible only in this realm: the template will be visible to all users in the realm.
Globally visible: the template will be visible to all users in all realms.
Report Type
This drop-down field shows the types of reports available. The user must select the type for which a template is to be created.
The types of reports are:
Depending on the type of report selected, the specific fields that must be configured for generating the final template will be automatically added. These fields correspond to those previously described during the creation process for each type of report. Consequently, the procedure to follow will be the same as that used to create a report.
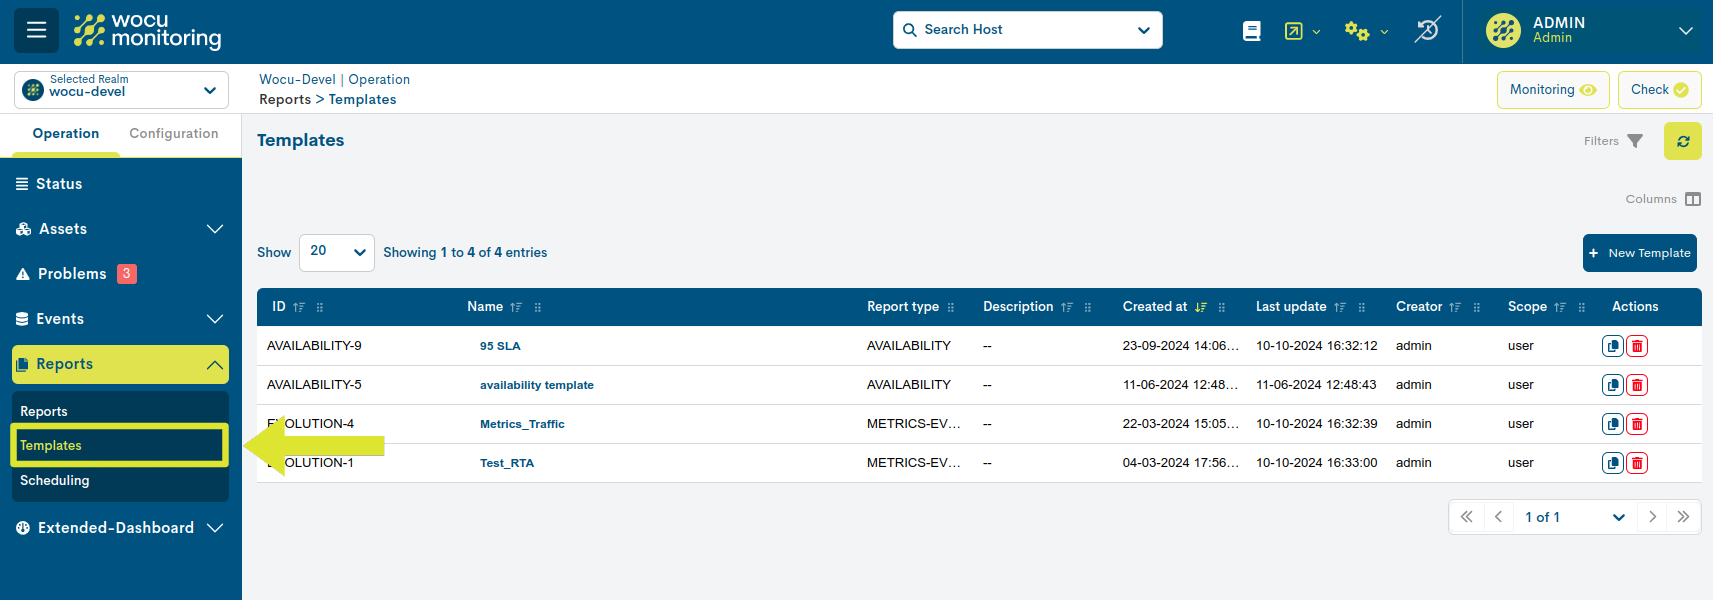
Template Management
Once the template is created, you’ll return to the initial screen of this section, where they will be stacked sequentially in an inventory panel. This screen also contains options for filtering, searching, and sorting templates (in addition to the + Add button).

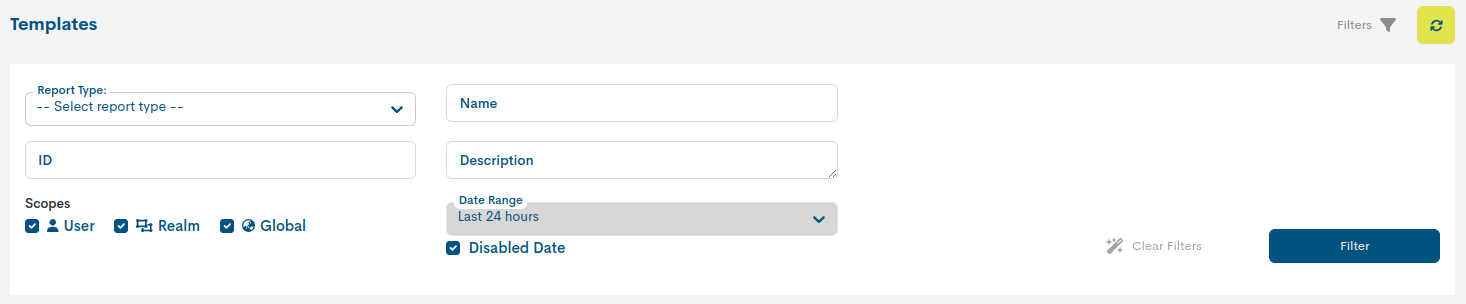
WOCU-Monitoring allows to refresh the data displayed on the screen by forcing an immediate refresh, by clicking on the Refresh icon (arrows in circular motion).
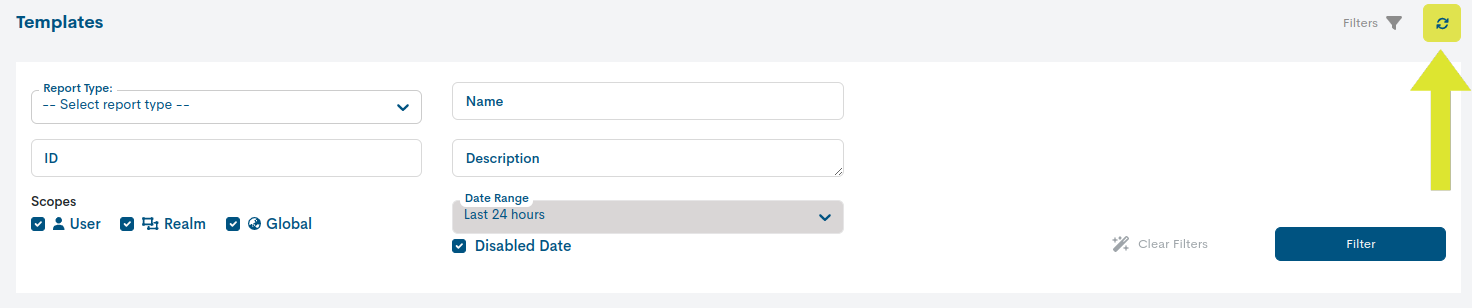
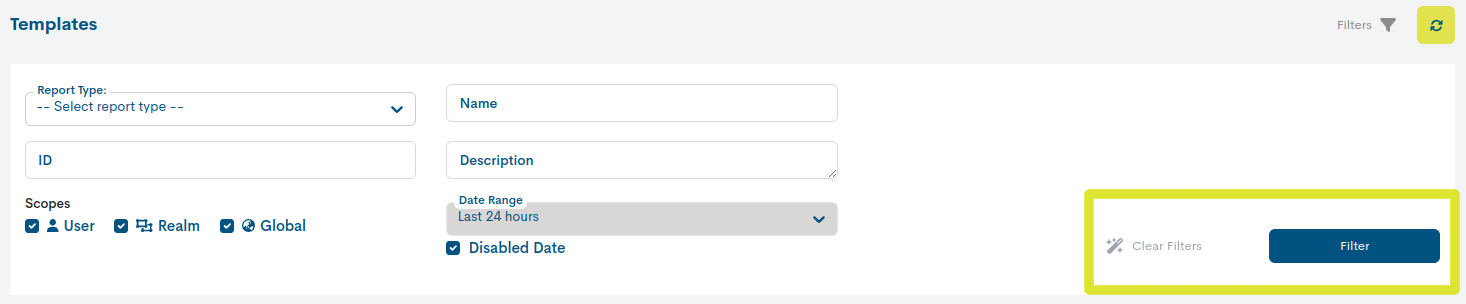
Template search and filtering options
Since there may be a large number of templates and to facilitate their retrieval, WOCU-Monitoring offers filtering and item search options.
Filtered by Report Type
Allows filtering of templates according to the type of report for which template has been created. For example, by selecting the type Multimetrics, only the templates linked to that type of report, excluding the rest. If on the other hand, all available templates are to be displayed, the user must choose the option marked by default Select Report Type.

Las posibles opciones son:
Filtered by ID
Allows a search to be performed on the basis of the template ID. IDs are unique so it is an easy and efficient way to search for items.
Filtered by Name
Allows a search to be made on the basis of the name assigned to the templates. The search works with the first characters of the name, even with several intermediate or final characters.
Filtered by Description
Allows a search by the complementary description of the template. This filter will be effective when templates include a description, otherwise no items will be retrieved.
Filtered according to the visibility of the template (Scopes)
Allows filtering according to the context in which a template is visible. By default, the User, Realm and Global options are activated, with a blue background. In case you want to restrict a type of template from being visible in the panel, simply click on the specific button and the background will change to white.
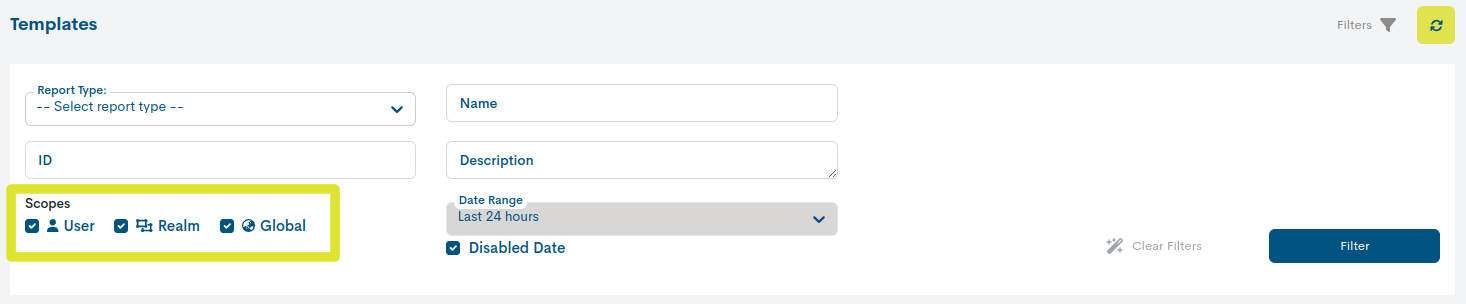
Finally, in order to execute the proposed search it is necessary to click on the blue Filter button.If you want to reset the query, click on the Clear filters option.
Date Range
Through this filter it is possible to retrieve templates according to the date they were created.
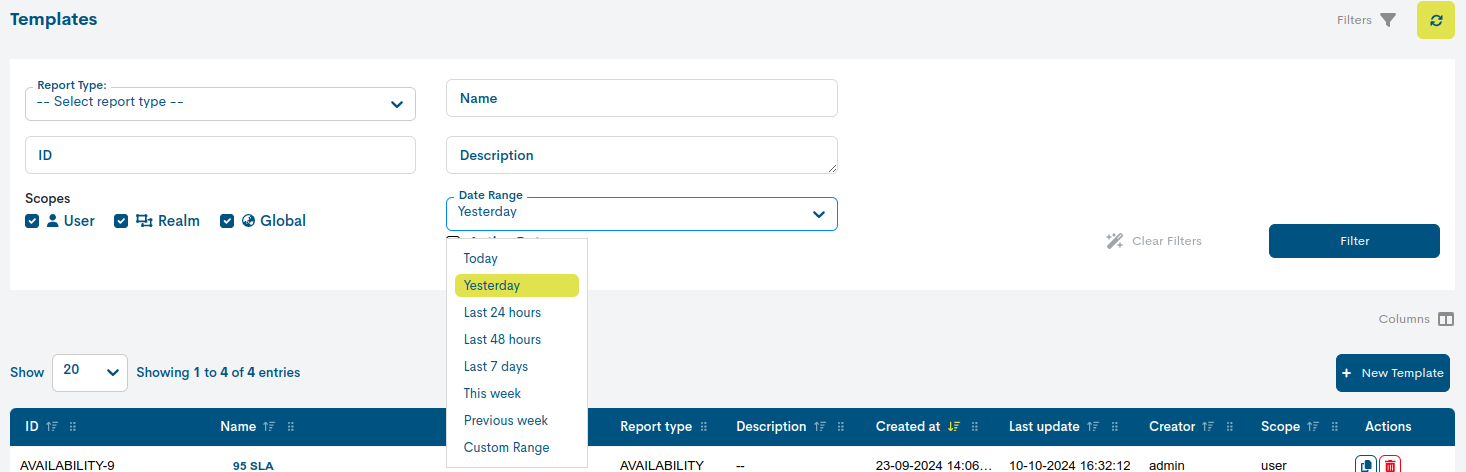
There are a number of time criteria already in place:
Parameter |
Description |
|---|---|
Today |
Filters and displays only data recorded during the time period that elapsed today. |
Yesterday |
Filters and displays only data recorded yesterday. |
Last 24 hours |
Filters and displays only data recorded in the last 24 hours. |
Last 48 hours |
Filters and displays only data recorded in the last 48 hours. |
Last 7 Days |
Filters and displays only data recorded in the last seven days. |
Last 30 Days |
filters and displays only data recorded in the last thirty days. |
This Week |
Filters and displays only data recorded during the time period elapsed in the current week (from the week’s start date to the current day). |
Previous Week |
Filters and displays only data recorded in the previous full week(Monday to Sunday). |
Last 30 days |
Filters and displays only data recorded in the last 30 full daysfrom the current date. |
This Month |
Filters and displays only data recorded during the time period elapsed in the current month (from the 1st to the current day of the month). |
Previous Month |
Filters and displays only data recorded in the previous full month (from day 1 to day 28/30/31). |
In case you want to set a specific period of time there is the option Custom Range. To configure the time frame it is necessary to set a start date and an end date. By clicking on one of the days, this date will be set as a selection, being marked with a blue background. In addition to the day, a specific time can be set for that day, using the drop-down menus in the hour, minute and second boxes, until the desired time is set. The selected date and time can be seen both in the upper boxes and in the lower part of the view.
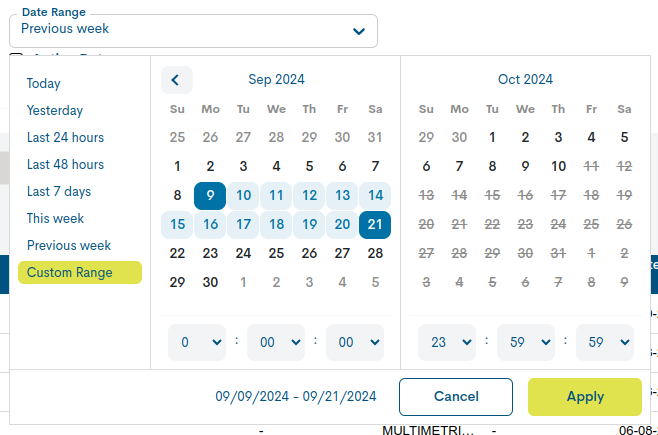
Once the programming is complete, press the Apply button to apply it.
Attention
Logically, it is not possible to choose start and end dates later than the current date, or to set an end date earlier than the start date.
Global template panel
WOCU-Monitoring displays all available templates along with a series of user-defined fields and other fields generated automatically generated by the system. They are listed below:
Name: displays the template identification term previously assigned by the template creator.
Report Type: indicates the type of report to which the template previously selected by the template creator belongs.
Description: displays a descriptive text related to the template previously assigned by the creator.
Cover: Indicates the Covers template that has been implemented in the template.
Created at: indicates date and time of template creation.
Last Update: indicates date and time of the last modification of the template, i.e. its most recent update.
Creator: informs the user who created the template.
Scope: indicates the scope in which the templates are visible previously assigned by the template creator.
Actions
Column in which the buttons for the actions allowed on each of the templates are available.

These are:
Clone
Allows you to make a copy of the template created. By clicking on the Clone button, identified with the icon of two superimposed squares, a window will open with some fields to be configured. These are:
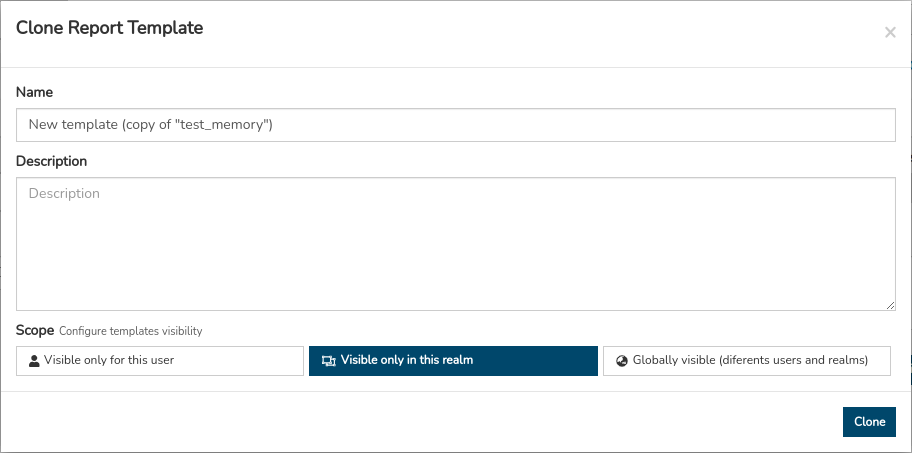
- Name
complete with a term that identifies the template. The default system generates one that can be modified.
- Description:
field to add a descriptive text related to the template. By default, the system will show the description added in the original template, although it can be modified.
- Scope:
select the visibility option you want to apply to the new template. By default, the system saves the option applied to the original template, but it can be modified.
The available options are:
Visible only for this user: The template will be visible only to the creator user.
Visible only in this realm: the template will be visible to all users in the realm.
Globally visible: the template will be visible to all users in all realms.
Attention
To copy the template the user must have the appropriate permissions. Please note that there are different types of users with access to WOCU-Monitoring. This means that the modification and configuration of the mentioned actions will be allowed as long as the user has the special permissions for each of them.
Delete
This option permanently deletes the selected template. The action is executed by clicking the Delete button, identified by the trash can icon. Clicking the button will display the following message confirming the action.
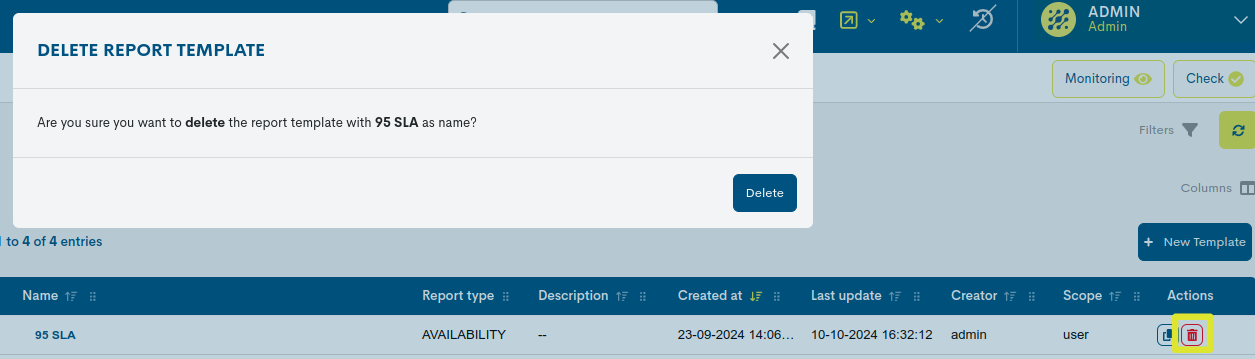
To proceed with the deletion, press the red Delete button.
Attention
To permanently delete the template, the user must have the appropriate permissions.
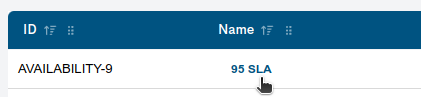
Edit
By clicking on the particular template name, the user can edit and update the settings of the selected template.
You will then be presented with an edit form with the possibility to modify each configuration parameter.
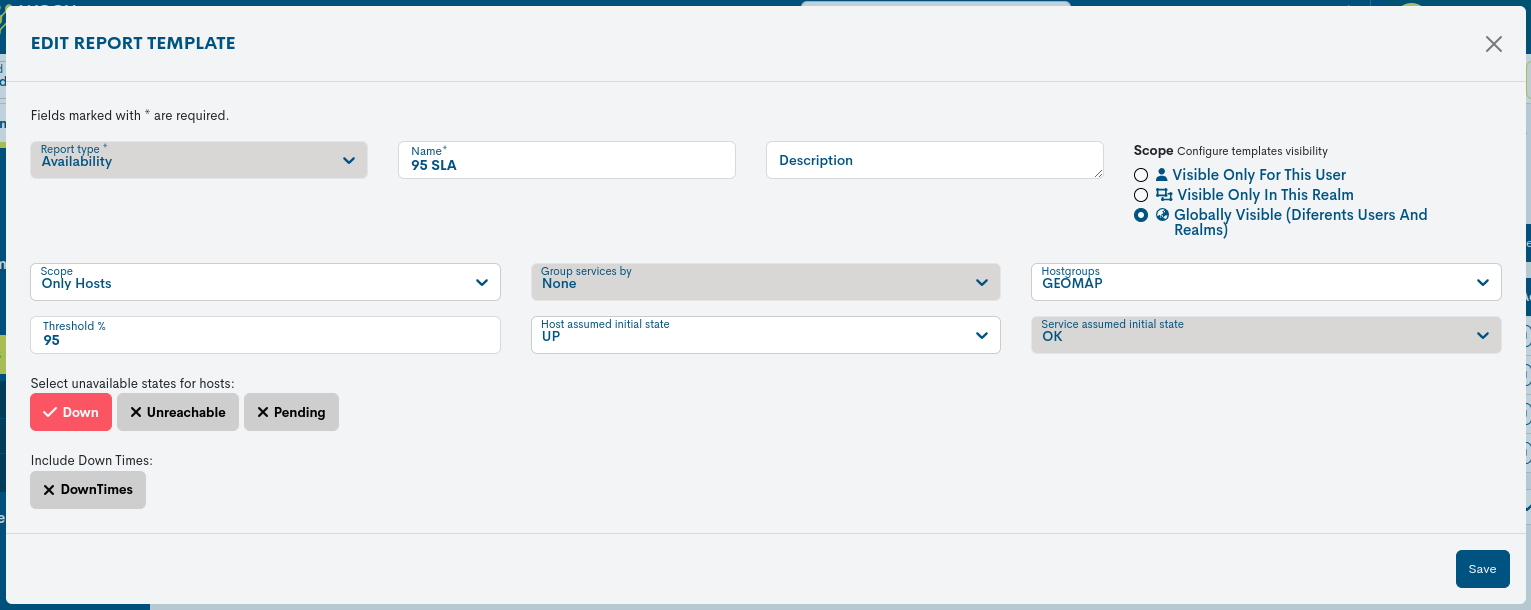
Depending on the type of report selected, new specific fields will be automatically included to configure to obtain the final template. These fields match those described in the creation of each type of report. Therefore, the process to follow is the same as the one we would follow in creating a report.
Attention
To edit the template the user must have the appropriate permissions.
Important
The different navigation, search and sorting options available on this screen are explained in detail in the section: Common navigation, filtering and sorting options.
Comments
Free text field to add comments, notes, or additional clarifications about the template.
Once all the fields of the template have been configured (the common fields plus the specific for each type of report), you will have to save the changes by pressing the blue Add button to make the configuration established.