Common navigation, filtering and sorting options
During the asset monitoring process, WOCU-Monitoring collects and manages a large amount of relevant data to define statuses, detect incidents, and generate reports, among others. This can result in information-rich views, as well as extensive inventories and reports. Therefore, the tool offers navigation assistance features, facilitating user orientation, along with filtering and sorting options, which are useful for easier viewing, reading, and analyzing data.
Note
All the options explained below perform mere querying, filtering and displaying of items without affecting the operation of any of them.
Each of the available functionalities is described below:
Customizing table display: Columns
The Columns function is available in all inventories of the application, which allows you to customize the display of the inventory tables in a flexible manner.
Through this, it is possible to decide which columns of the inventory you want to display and which ones you want to hide. Changes are applied by clicking on the Apply changes button.
See the following example, where in the Hosts Inventory, clicking on the Columns function displays a set of checkboxes that correspond to the table headers. By default, all options will be checked. Then, uncheck the checkboxes that you do not want to display in the table.
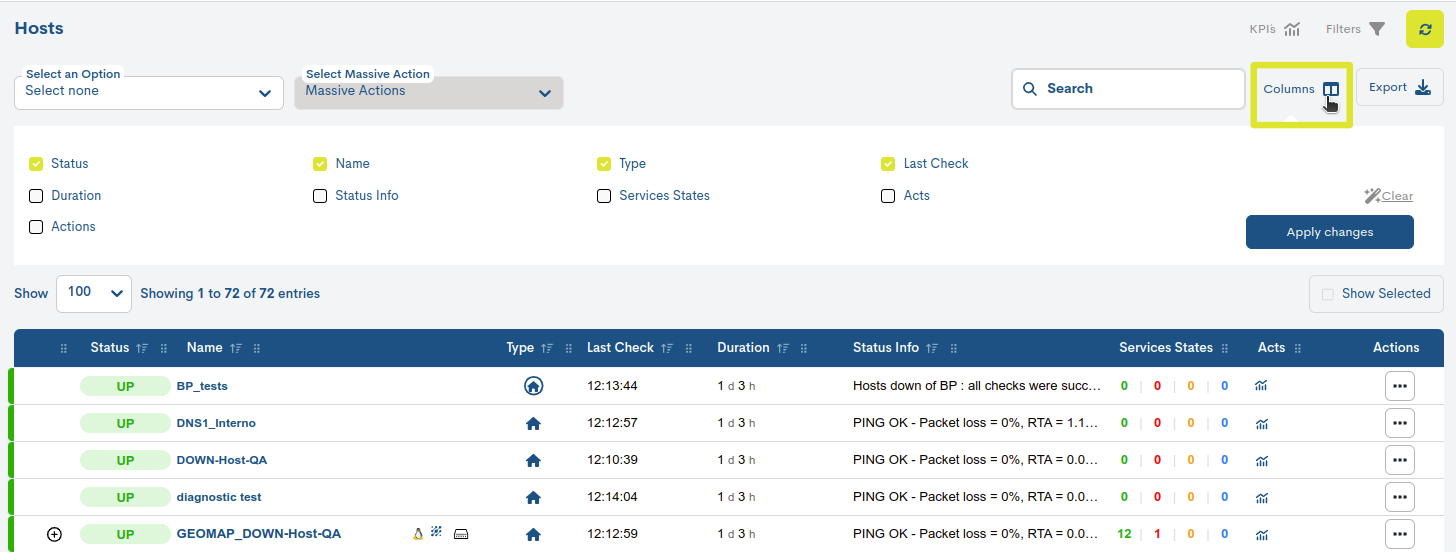
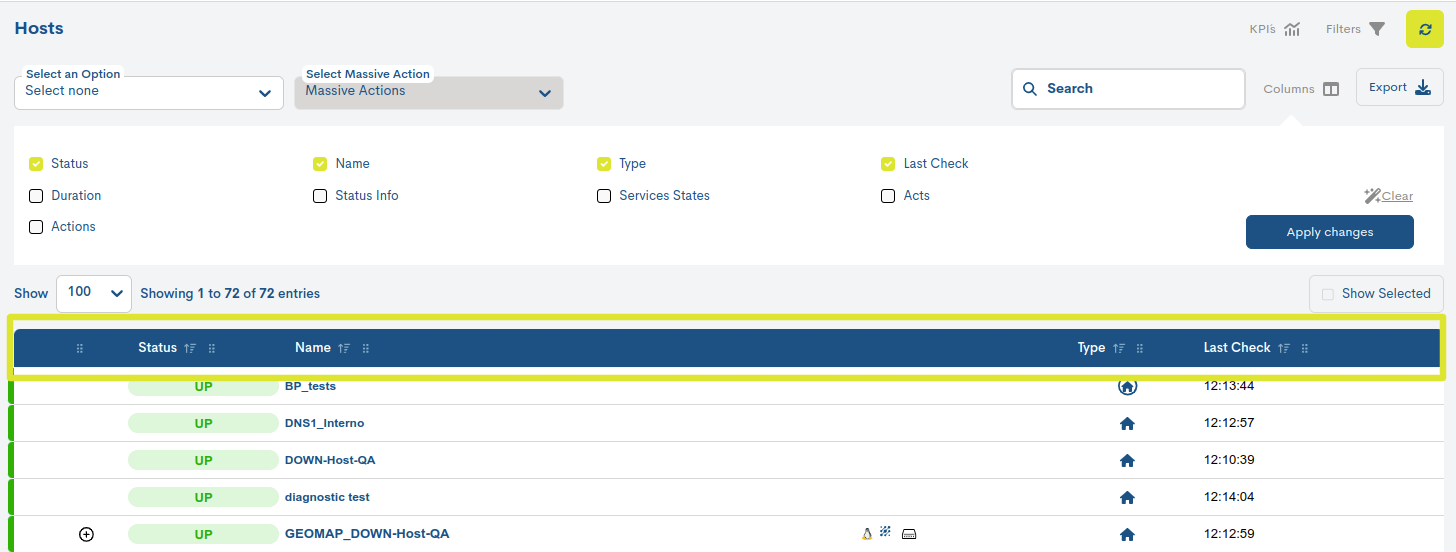
Finally, save the changes using the Apply changes button and the table will be updated immediately, displaying only the previously configured columns.
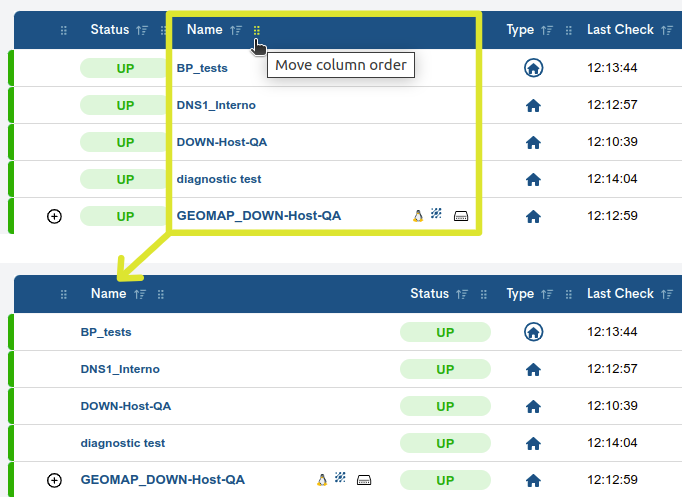
In addition, each column in the table has a button in its header, represented by six dots. By clicking on this button and dragging with the mouse, the user can rearrange the columns, moving them to the preferred position within the table.
Search
The search bar is located mainly on screens that integrate panels and asset inventories. It allows you to filter the information displayed and thus be able to view the data more comfortably in those cases where there are many elements.
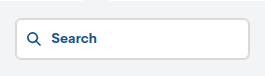
This feature allows for a fairly free search, as it works with the first characters of the search term, even with several intermediate or final characters.
You can use the search to perform simple filters with items that have a similar name or the same initials. It will even display items that contain information that matches the entered text string, so the search and filtering possibilities are very broad. Finally, to delete the search, simply delete the characters entered in the bar.
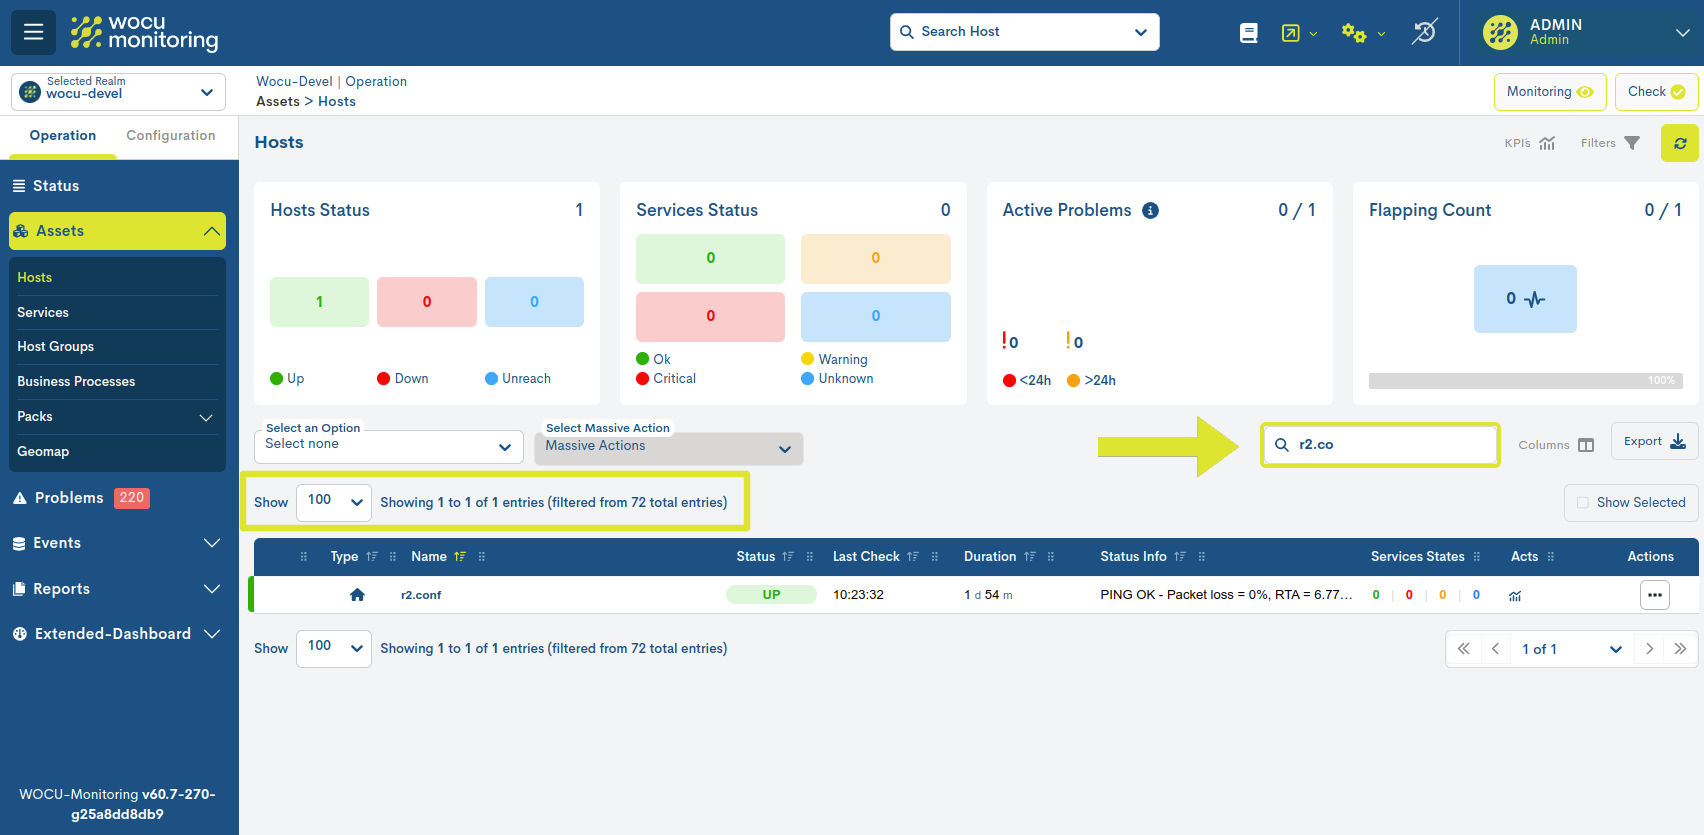
It is easy to know if the current view of the list or inventory has any search applied to it, thanks to the text displayed next to the search box, as it reports the number of results displayed for a given search: Showing X to X of X entries (Filtered from X total entries).
Show entries
This functionality consists of a selectable menu that allows the user to choose between a 20, 50 and 100 entry view. To select the number of items to be displayed per page, select one of the number of menu entries that is most convenient.

To the right of the drop-down menu is the box that indicates the number of entries shown in relation to the total number of entries in the inventory: Showing X to X of X entries.
With this text, the user can easily check if a filter is applied, checking that the total number of entries is being displayed.
Note
This functionality is complemented by the previous Search option, which allows filtering of the selected elements and the pagination option that facilitates navigation and reading of the data shown here.
Ordering of elements
WOCU-Monitoring allows you to sort the entries in the table in ascending or descending order, for each of the fields in the inventories or panels.
The selected field will be highlighted (the up or down arrow will indicate whether the order is increasing or decreasing respectively). Clicking on one of the fields will select it to set the order of the displayed entries. Clicking again on a selected field will change the order from increasing to decreasing or vice versa.
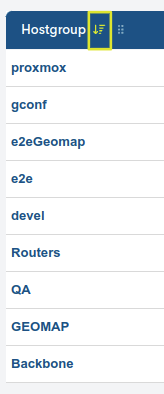
This function is very useful for sorting hosts according to status type, sorting reports according to creation date or hosts according to the date of the last check. Therefore, the possibilities of this functionality are very broad.
Pagination and inventory browsing
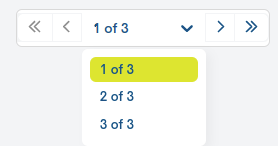
Depending on the settings of the Show entries option and the Search filter, the items displayed in lists are distributed on different pages. The set of pages can be accessed through a menu located at the bottom right of the list.
Show/hide panels and filters
WOCU-Monitoring offers the option to show or hide filters and panels, leaving more space for viewing and reading data. Simply click on the Filters icon and the panel or filters will be displayed or hidden.
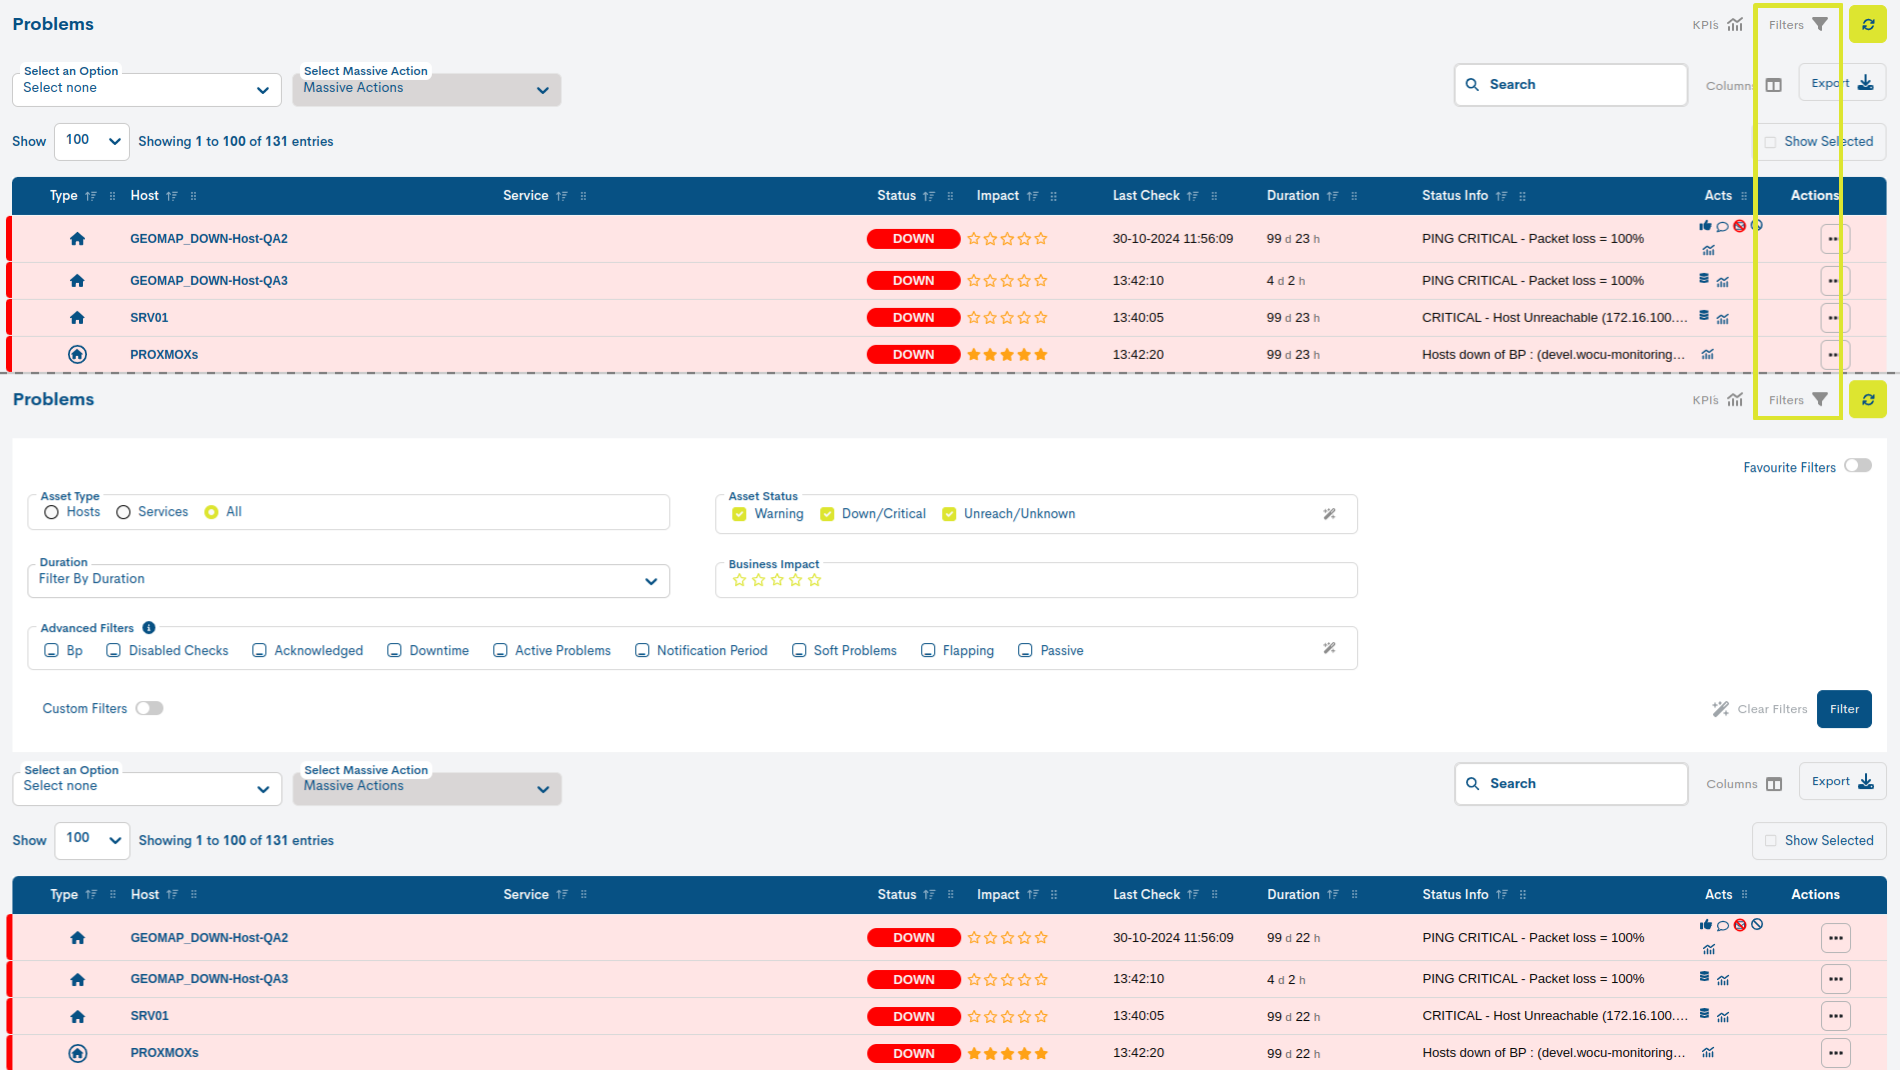
In addition, currently in the tables of hosts, services, problems and monitoring events, we have the possibility to manage custom custom filters. Having the filters deployed, we will see a switch to display the custom filters which includes:
A selector with search to select the custom filter that we want to apply.

A custom filter save button that appears between theclear filters and filter, which displays a modal for entering the name of a filter and save it.
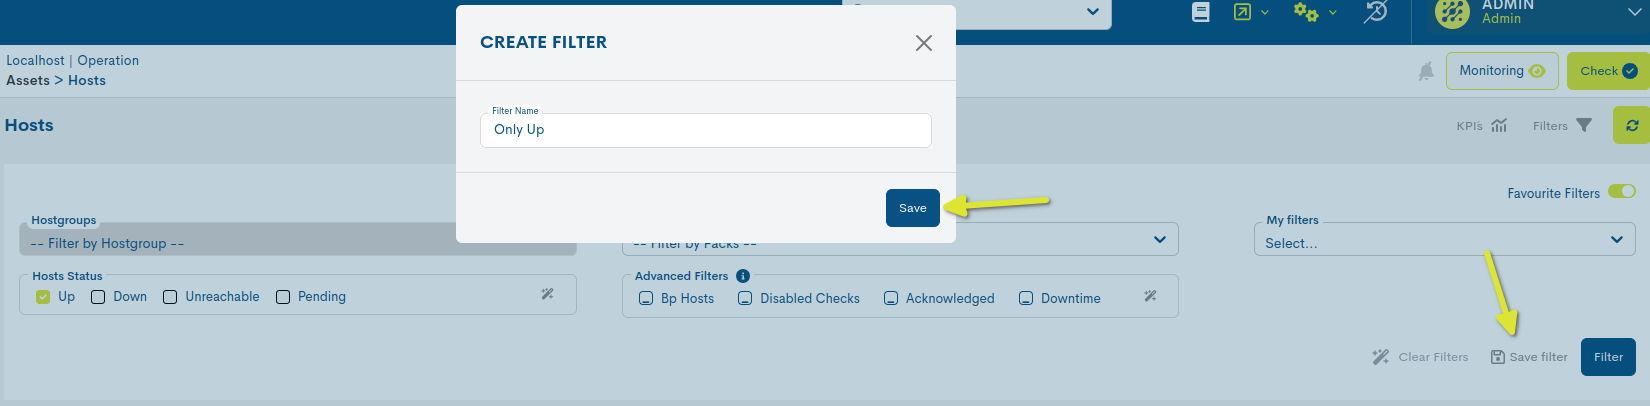
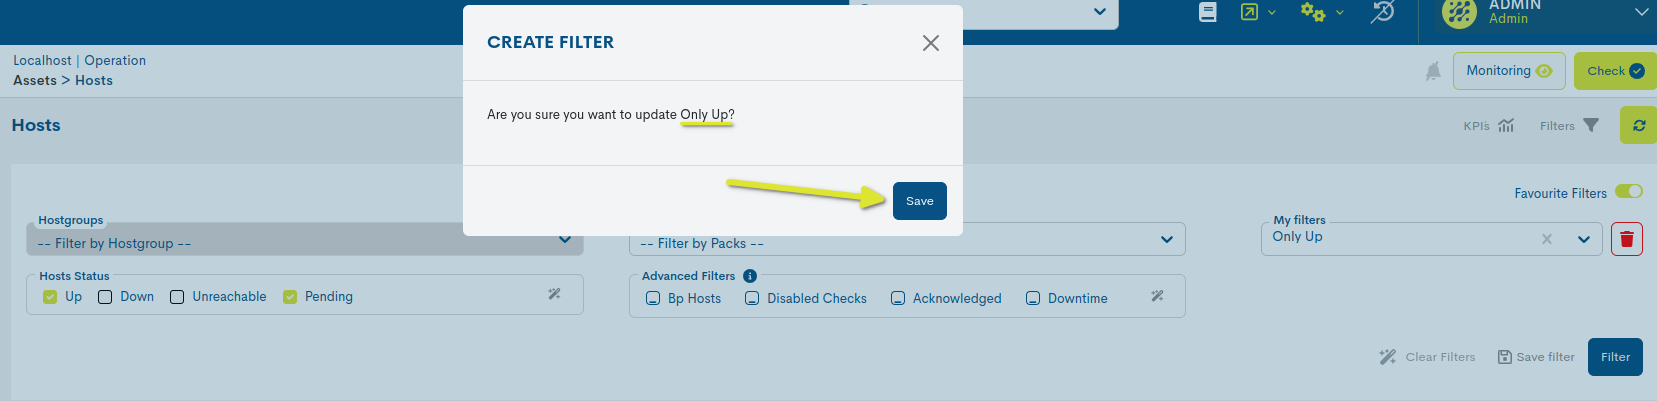
If the name of the filter already exists, it will ask if we want to overwrite it and the “Save” button will overwrite the value of the filter with the same name.
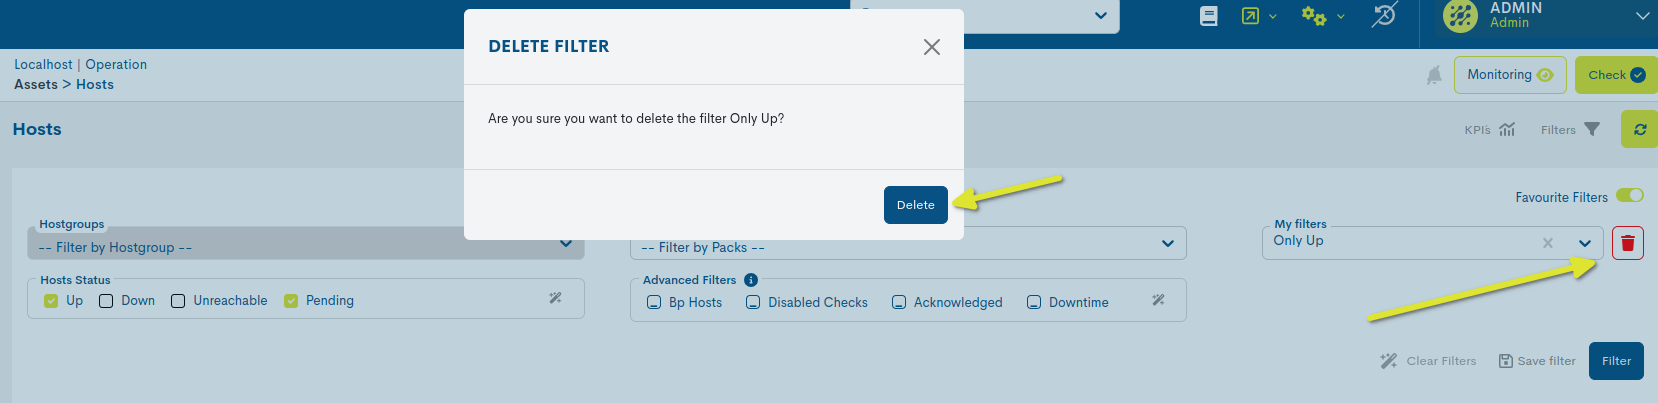
When we have a filter selected a delete filter button button that will display a modal to confirm the removal of the currently selected currently selected.
Data refresh
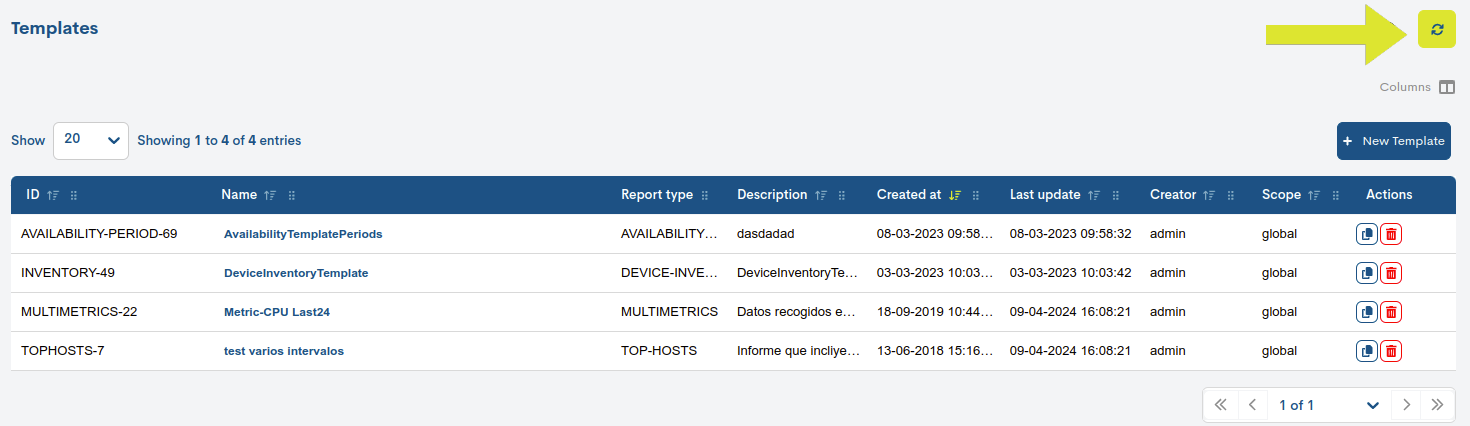
This option refreshes the data displayed on the screen. Clicking on the circular arrows icon will force an immediate refresh without waiting for the refresh programmed in User Preferences. In this way a real time view of data is obtained.