Import by Nagios configuration file (Nagios Import)
Nagios Import allows the import of Assets via the Nagios Hosts configuration file.
Note
Nagios is a very popular and widely used Open Source monitoring tool. You can use the pre-existing Nagios configuration file.
The different fields that the user must fill in to perform this Import Task are detailed one by one below.
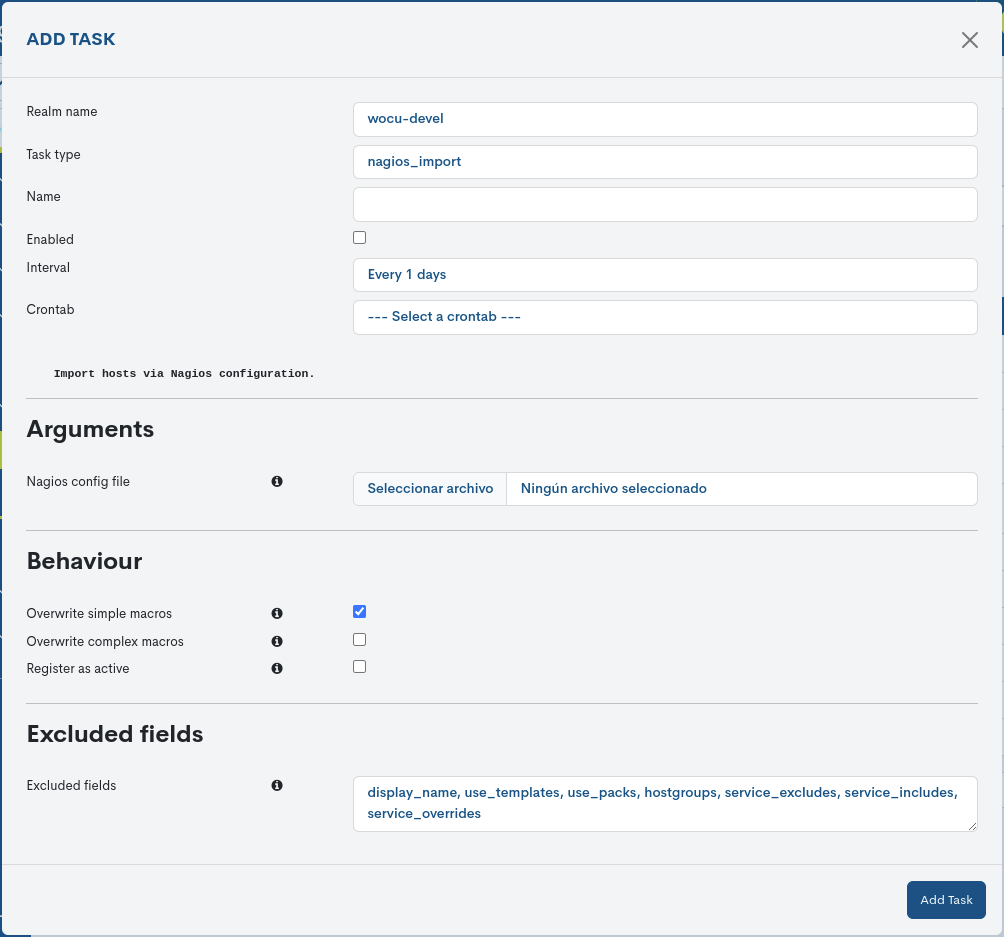
Realm Name
This field is not editable and indicates the name of the Realm that is the subject of the Import Task.
Task Type
This field indicates the Task Type that will be generated. It is the first selectable field in the dropdown menu and influences the remaining fields.
If a different Task type is selected before saving the changes, the data entered in the other fields will be lost.
Name
The field contains the name chosen by the user to identify the New Task created.
Enabled
Checking this box enables and activates this New Import Task for its next execution.
By default this option is enabled.
Interval
By means of this drop-down menu it is possible to choose how often the Asset Import of this New Task will be executed. The possible options available are:
Task executed daily (Every 1 days).
Task executed every second (Every 1 second).
Contrab
An alternative option to set the frequency at which the Task will be executed. Its configuration is done using the Crontab format, providing greater flexibility for more specific use cases.
Expand on information about defining execution periods aquí.
Nagios config file
In this field the user must select and attach the Nagios configuration file, from which the Host Import is to be performed.
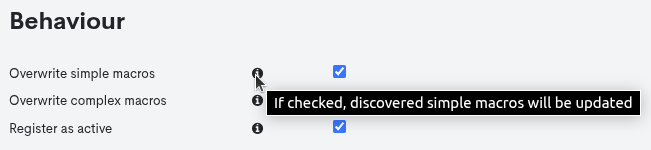
Overwrite simple macros
This option allows you to enable or disable the updating of the simple macros of the Assets. By default this option is enabled.
Overwrite complex macros
This option allows you to enable or disable the updating of the complex macros of the Assets. By default this option is disabled.
Attention
Macros are elements that WOCU uses internally to store properties and information of the monitored Assets.
A simple macro stores a single value. An example of a simple macro is “_DEVICEVENDOR”, a macro that stores as a value the name of the manufacturer of the Host. For example for a Cisco switch this example macro would have the value:
DEVICEVENDOR:Cisco.
A complex macro, on the other hand, can store a multitude of values within a table. An example of a complex macro is “_IFACES”, a macro that stores all the data of the ports and network interfaces of a Host. For example for a Cisco switch this example macro would have the value:
_IFACES:Fa0/0$(1)$$(1)$$(0)$$(0)$$(m)$,Fa1/1$$(4)$$(0)$$(0)$$(m)$, WAN_CPD_01$$(8)$$(0)$$(0)$$(0)$$(m)$…
Given the difficulty of configuring some complex macros, which may require additional manual configuration, it may be preferable to avoid overwriting them when running an Import Task. This is why this option to overwrite complex macros is disabled by default. It is advisable to use this option only with caution, when the user is sure that the execution of this option will not cause major misalignments in the configuration of the Assets.
Register as active
Enabling this option will send assets imported via CSV files directly to the Monitored Assets list. In other words, the creation in the Pending Assets list will be skipped, and they will proceed directly to monitoring.
Exclude fields
The various import tasks in WOCU have a set of Host attributes that are ignored by default, during the import or update of the asset configuration profile.
In this field the user can manually edit the fields excluded during the asset check through the Nagios Host configuration file. It is possible to modify the list by adding new fields or deleting some of the preset ones.
Note
Hovering over the information button (ℹ️) will display a new window with help information for the various fields in the form. This action does not make any changes to the configuration.
After entering the data in the respective fields, you need to click theblue Add Tasks button to save the new Task in the list.